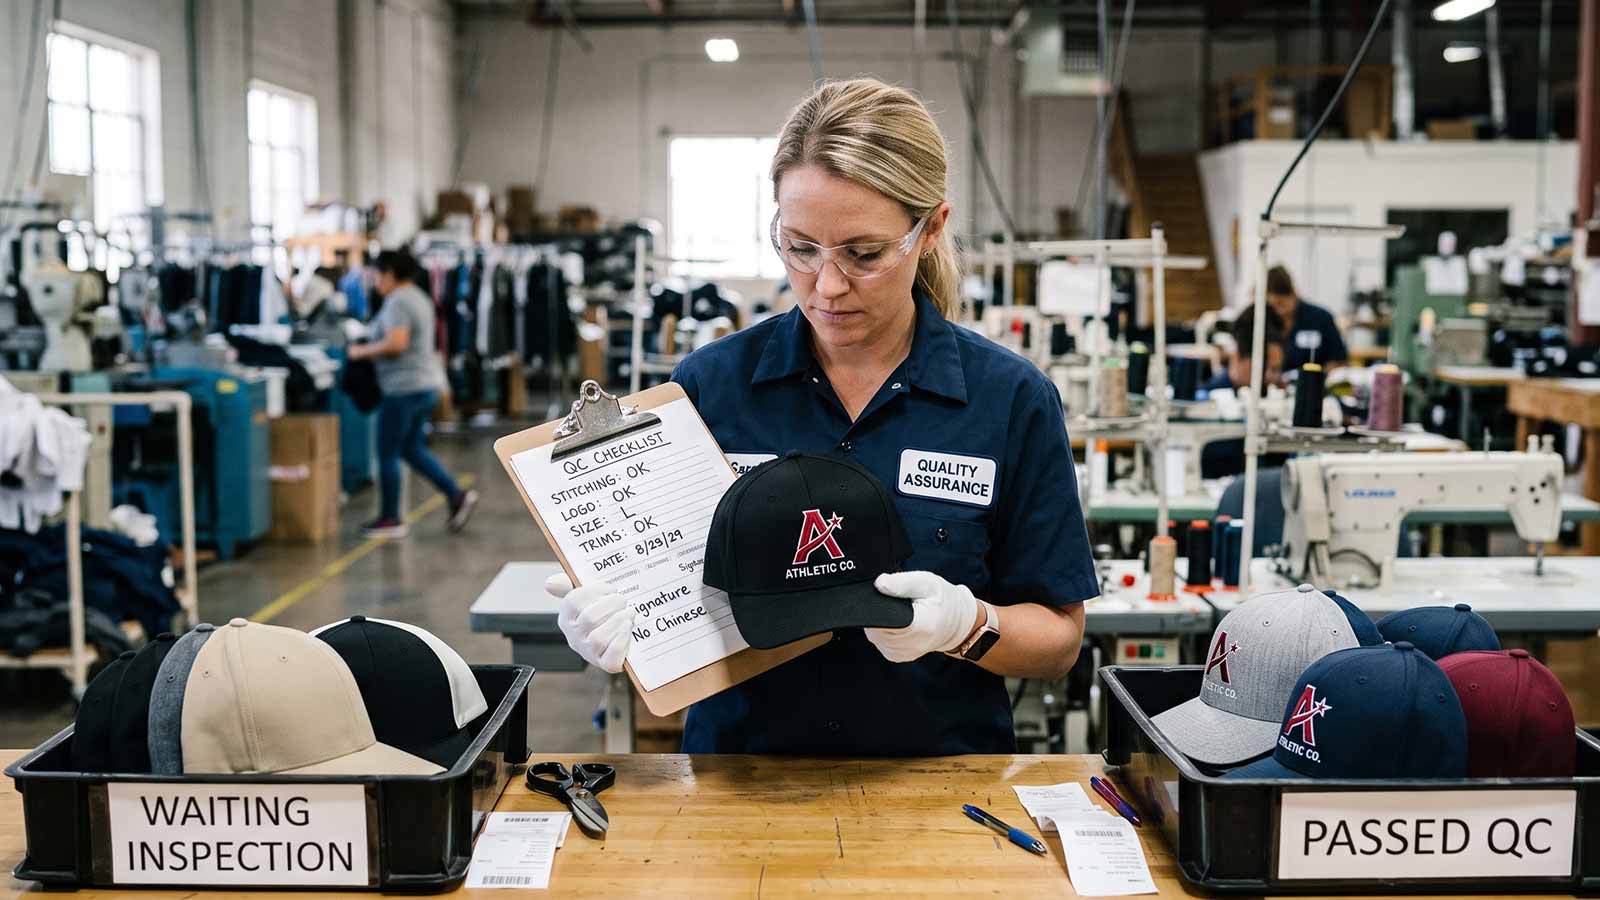
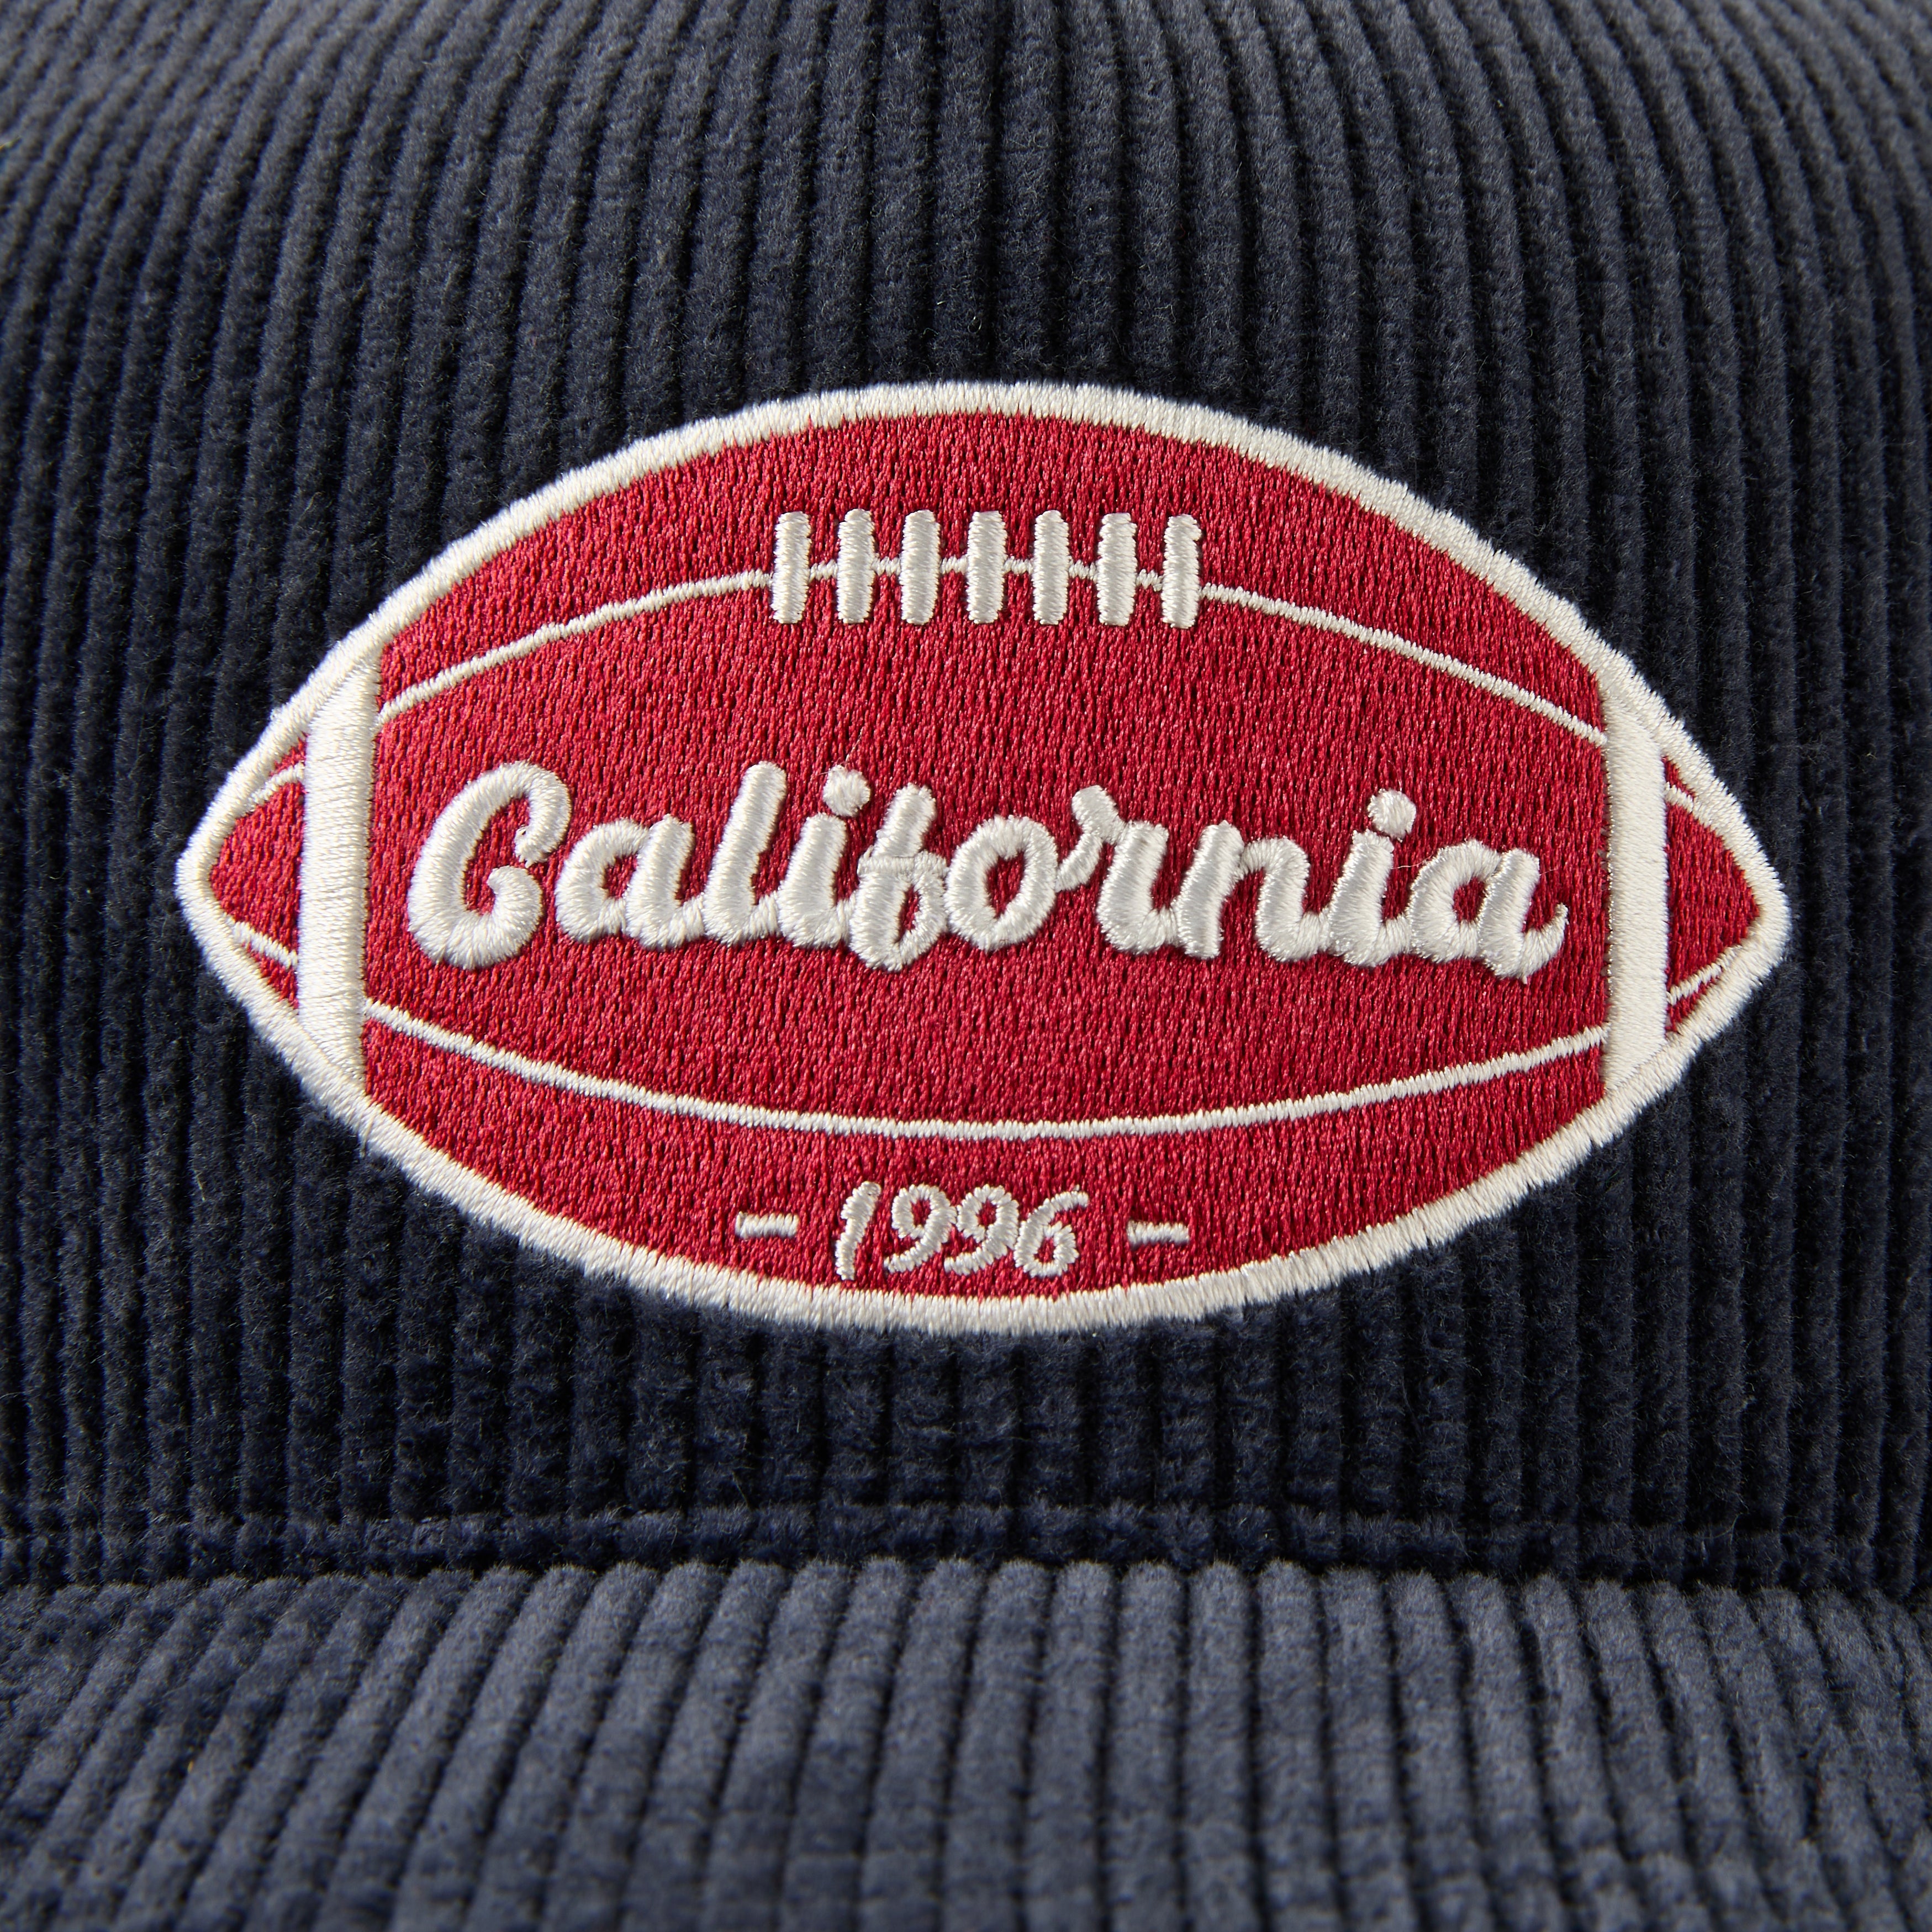
A graphic can look perfect on a screen and still fail on a hat. A crown is curved. Panels meet at raised seams. Fabrics can stretch, repel water, release dye or react badly to heat. The same transfer that works on a cotton T-shirt may lift, shine or discolor when applied to headwear.
That creates an expensive problem. A sample may look acceptable on day one, then crack after stretching, peel after washing or turn pink as dye moves through a white logo. Bulk production makes every small error more costly.
The solution is a controlled selection process. Start with the hat material and construction. Match the process to the artwork and intended use. Then approve a measured sample made with the actual production fabric, color and finish.
 Quick Answer: Which Method Should You Consider?
Use this table as a starting point. Final approval should follow an application test on the actual hat material.
|
Buyer requirement |
Starting option |
Main limitation |
|
Simple solid-color logo |
Screen printing |
Setup and color count |
|
Detailed multicolor graphic |
DTF or printed transfer |
Film feel and edge adhesion |
|
Full-color polyester panel |
Dye sublimation |
Compatible light polyester required |
|
Names, numbers or short runs |
Heat transfer vinyl |
Limited fine detail |
|
Flexible raised logo |
Silicone transfer |
Material-specific bonding test |
|
Night visibility |
Reflective transfer |
Reflectivity and wash validation |
Direct Printing and Heat Transfer
Direct printing places ink onto the fabric surface. Screen printing is the common example. It can produce clean solid colors and a relatively soft result, but the mesh, ink system, fabric texture and curing conditions limit very fine detail.
A heat transfer is prepared on paper, film or cut material, then bonded to the hat with heat and pressure. DTF transfers, heat transfer vinyl, silicone transfers and reflective transfers belong in this group. Their film or adhesive layer can make detailed artwork easier to reproduce, while adding hand feel and adhesion risks.
Dye sublimation also uses transfer paper and heat. Its behavior is different: the dye enters compatible polyester instead of leaving a conventional film on top. This produces a smooth surface, but it generally requires white or light-colored polyester for clear color reproduction.
 Compare the Main Hat Printing Methods
Screen Printing
Screen printing works well for bold logos, lettering and limited color counts. It is often practical for repeat production because the setup can be reused. Fabric texture matters: coarse canvas, mesh and brushed surfaces can interrupt fine lines. A heavy ink deposit may also feel stiff on a soft crown.
Ask the supplier to confirm the ink system, underbase, curing method and print sequence. Dark fabrics may require an underbase for opacity. Printing across a seam reduces contact and makes ink coverage less consistent.
DTF and Printed Heat Transfers
Printed transfers can reproduce gradients, small color changes and complex artwork without separating every color into a screen. They are useful for lower quantities and graphics that would be difficult to embroider.
The trade-offs are film feel, breathability and edge durability. Large solid areas feel heavier than broken or open artwork. Polyester may release dye under heat, so pale graphics on dark polyester can need a migration-blocking construction. Follow the transfer supplier's application system and test the finished hat; the label 'DTF' alone does not define the adhesive, film or performance.
Dye Sublimation
Sublimation is strongest on compatible white or light polyester. It can produce detailed, full-color graphics with almost no surface layer. For hats, printing flat panels before sewing usually gives more even pressure and a larger usable area than pressing a finished curved crown.
Color can shift between the digital file, transfer paper and final fabric. Ghosting can appear if the paper moves during pressing. Approve color on the production fabric and decide whether the artwork should be adjusted for panel seams and sewing allowances.
Heat Transfer Vinyl, Silicone and Reflective Transfers
Cut vinyl suits names, numbers and simple shapes. It becomes inefficient for very small details or complex multicolor artwork. Silicone transfers can add a soft raised finish and good flexibility when their adhesive matches the fabric. Reflective transfers support running and outdoor products, but appearance in daylight does not prove adequate reflectivity in use.
For each option, confirm the approved material, thickness, finish and care conditions. A generic process name is too broad for bulk production control.
 Start with the Hat Material
Cotton and Cotton Twill
Cotton accepts many ink and transfer systems, but surface texture affects edge sharpness. Washed cotton can vary in shade and surface level. Heat may leave a temporary or permanent press mark. Test on fabric that has received the same washing and finishing treatment as bulk production.
Polyester
Polyester introduces two major checks: heat sensitivity and dye migration. Heat can reactivate certain dyes, which then move into a light transfer or ink layer. A white graphic may become pink, blue or gray. Use a compatible low-temperature or blocker system when required, and allow enough observation time before approval because migration may develop after pressing.
Nylon and Coated Fabrics
Nylon can develop gloss, distortion or melting under unsuitable heat. Water-repellent and other surface finishes can reduce adhesion on nylon or polyester. A transfer described as suitable for woven nylon still needs testing on the exact weave, dye and coating. Record whether the production fabric is coated; '100% nylon' does not describe its surface behavior.
Wool, Merino Wool and Stretch Fabrics
Wool can compress, shine or change texture under heat and pressure. Stretch fabrics create a different problem: the graphic must move with the crown and recover without cracking. For either material, keep the decorated area controlled and test both appearance and recovery before production.
Hat Construction Changes the Result
A flat test swatch does not reproduce a finished hat. Curvature, seams, crown support and internal layers all change pressure distribution.
· Curved panels can distort rectangular artwork and circular logos.
· Raised seams create low-pressure areas that encourage incomplete bonding.
· Structured crowns can limit access and flatten under an unsuitable fixture.
· Unstructured or stretch crowns can wrinkle around a stiff transfer.
· Printing flat panels improves pressure control, while placement may shift during sewing.
· Printing a finished hat follows its final shape, while the usable decoration area becomes smaller.
Decide the application stage before approving placement. A panel print and a finished-hat transfer should not share the same assumptions.
Prepare Artwork for a Curved Product
A production file needs more than the correct logo. It must describe how that logo should appear on a curved, sewn product. Supply vector artwork when possible, with fonts converted to outlines and placed images linked or embedded. A raster image should have enough resolution at the final printed size; enlarging a small web image will not restore missing detail.
Review thin lines, small gaps and tiny text at the actual decoration size. A detail that is visible at 200% screen zoom may close during printing or disappear into a textured fabric. Ask for a production proof when artwork contains gradients, transparency, distressed effects or closely spaced colors.
· Mark the final visible size rather than leaving the factory to scale the artwork.
· Identify critical brand colors and state whether a physical standard or digital reference controls approval.
· Show the hat centerline and the intended artwork centerline on the placement drawing.
· Keep important details away from seams, eyelets and strong panel curvature.
· Confirm whether a dark fabric needs an underbase or migration-blocking layer, as this can change color and hand feel.
For full-panel sublimation, include bleed beyond the cut line and keep important artwork inside the sewing-safe area. The panel pattern, seam allowance and final crown shape should guide the layout. A flat rectangular mock-up alone cannot predict how the design will meet at panel seams.
Quantity Affects Process Choice
Order quantity changes the commercial decision. Screen printing has setup work for screens and color separation, so its unit cost usually improves as the repeat quantity increases. Printed transfers can be easier for detailed graphics and shorter runs, although the transfer film, application labor and usable press area still affect cost.
Ask whether the sample uses the same process planned for bulk. A sample made with a convenient transfer cannot approve bulk screen printing, and a digitally printed color proof cannot approve the color behavior of sublimation on production fabric. If the production method changes, request a new approval sample or a clearly defined process-equivalent test.
Also confirm how the factory will control placement through the run. A positioning jig, hat-specific platen and retained first-piece reference help reduce drift. Quantity does not remove the need for in-line checks; it increases the value of catching an error early.
 How to Write a Usable Printing Specification
A factory needs more than 'front logo, heat transfer.' A useful specification should contain:
· Named method and transfer or ink system, when already approved.
· Final visible graphic width and height.
· Vector artwork or a production-ready high-resolution file.
· Color references and an approved physical color sample when color is critical.
· Exact placement from fixed hat reference points.
· Hat material, color, coating and finishing treatment.
· Required surface finish: matte, gloss, raised or reflective.
· Agreed test method and acceptance criteria.
Measure Placement from Fixed Reference Points
Do not write only 'front center.' Measure the finished, naturally shaped hat with its closure set to the approved position. Use a flexible ruler or measuring tape that follows the crown surface.
· Vertical position: measure from the center of the visor-to-crown seam to the lowest visible edge of the graphic.
· Graphic width: measure from the left visible edge to the right visible edge along the graphic plane.
· Graphic height: measure from the lowest visible edge to the highest visible edge.
· Horizontal position: compare the graphic centerline with the hat's front centerline.
· Record the measurement state, reference points and agreed tolerance on the sample sheet.
Set the tolerance after reviewing graphic size, application method and crown construction. A universal placement tolerance can create unrealistic expectations on soft or highly curved hats.
Testing Before Bulk Production
Use the actual production fabric, including its dye, coating and wash treatment. A supplier's compatibility chart helps with screening, but it cannot approve your specific hat.
1. Inspect initial appearance. Check color, gloss, edge definition, wrinkles, crown shape and hand feel.
2. Check adhesion. Examine every edge and flex the decorated area where the hat will move during wear.
3. Check stretch and recovery when the crown or graphic area is elastic.
4. Run the agreed care test. Record water temperature, detergent, cycle, drying method and number of cycles.
5. Recheck color migration after pressing and after the agreed waiting period, especially on dark polyester.
6. Compare the tested sample with the retained approved sample under consistent lighting.
Do not publish one universal temperature, time and pressure setting. Transfer chemistry, fabric, coating, press calibration and hat fixture all affect the result. Use the chosen system supplier's starting settings, then validate them through sampling.
Common Failures and Correction Directions
|
Failure |
Likely cause |
Correction direction |
|
Edges lift |
Uneven pressure or incompatible adhesive |
Review fixture, coating and transfer system |
|
Graphic cracks |
Film cannot follow fabric movement |
Test a more flexible construction |
|
Fabric becomes shiny |
Excess heat, dwell or pressure |
Reduce exposure and protect the surface |
|
White graphic changes color |
Polyester dye migration |
Test a blocker or lower-heat system |
|
Logo looks distorted |
Curvature or incorrect application stage |
Adjust artwork, placement or panel process |
|
Crown becomes flat |
Inadequate support during pressing |
Use a hat-specific fixture and support |
Sample Feedback: Vague Comments vs. Production Language
|
Vague comment |
Production-ready feedback |
|
The logo is too low. |
Move the lower graphic edge 5 mm upward from the approved visor-seam reference point. |
|
The print feels cheap. |
The transfer is too stiff across the solid area. Please test a thinner, more flexible construction. |
|
The color is wrong. |
The red is darker than the approved reference. Submit a corrected strike-off on the same fabric color. |
|
The edges are bad. |
The upper-right edge lifted after the agreed wash test. Review bonding and pressure consistency. |
|
The logo is crooked. |
The graphic centerline is about 4 mm to the wearer's left of the hat front centerline. |
Approve the Sample in a Fixed Order
7. Confirm the method, material and finish.
8. Measure graphic width, height and placement.
9. Compare color under consistent lighting.
10. Inspect edges, surface texture and hand feel.
11. Complete the agreed adhesion, stretch or care tests.
12. Record approval with dated photos, measurements and the artwork version.
Keep the approved sample, specification sheet and test record together. Bulk inspection should compare production against that complete reference, not against memory or a screen image.
What to Send Your Hat Manufacturer
· Hat style, material, color and surface finish.
· Artwork file and required visible size.
· Placement with clear measurement references.
· Preferred method, if one has already been selected.
· Order quantity, intended use and expected care conditions.
· Any required color, adhesion, wash or reflectivity checks.
You do not need to define every press setting before contacting a manufacturer. Send the product facts and artwork first. The production settings can then be confirmed through material review and sampling.
Conclusion: Approve the Hat, Not Only the Artwork
A reliable printed hat begins with material compatibility. Hat construction determines whether pressure and placement can remain consistent. A measured and tested sample turns a visual idea into a production reference.
Send us your hat style, fabric, artwork, quantity and intended placement. We can review the decoration requirements and identify what should be tested during sampling.
What is the best printing method for custom hats?
There is no single best method for every hat. Screen printing suits bold logos and repeat runs. DTF or printed transfers suit detailed multicolor artwork. Sublimation is a strong option for compatible light-colored polyester. The final choice should consider the fabric, crown construction, artwork, quantity and intended use.
Can DTF transfers be applied to every hat fabric?
No. Adhesion and heat response vary with the fibre, weave, dye and surface coating. Water-repellent nylon, heat-sensitive materials, stretch fabrics and dark polyester require extra checks. Test the selected transfer on the actual production fabric before bulk approval.
Can a logo be printed across a hat seam?
It can be attempted, but the raised seam interrupts pressure and surface contact. This increases the risk of incomplete ink coverage, weak bonding or visible distortion. Moving the graphic away from the seam usually gives more consistent production.
Why does a heat transfer peel after washing?
Common causes include an incompatible adhesive, uneven pressure, incorrect application conditions, a fabric coating or care conditions outside the approved range. Record the failure location and wash method, then retest the material and application system before production continues.
Is sublimation suitable for cotton hats?
Traditional dye sublimation is designed for compatible polyester or polymer-coated surfaces. It does not produce the same result on ordinary cotton. For cotton hats, consider screen printing or a compatible printed transfer after testing the actual fabric and finish.