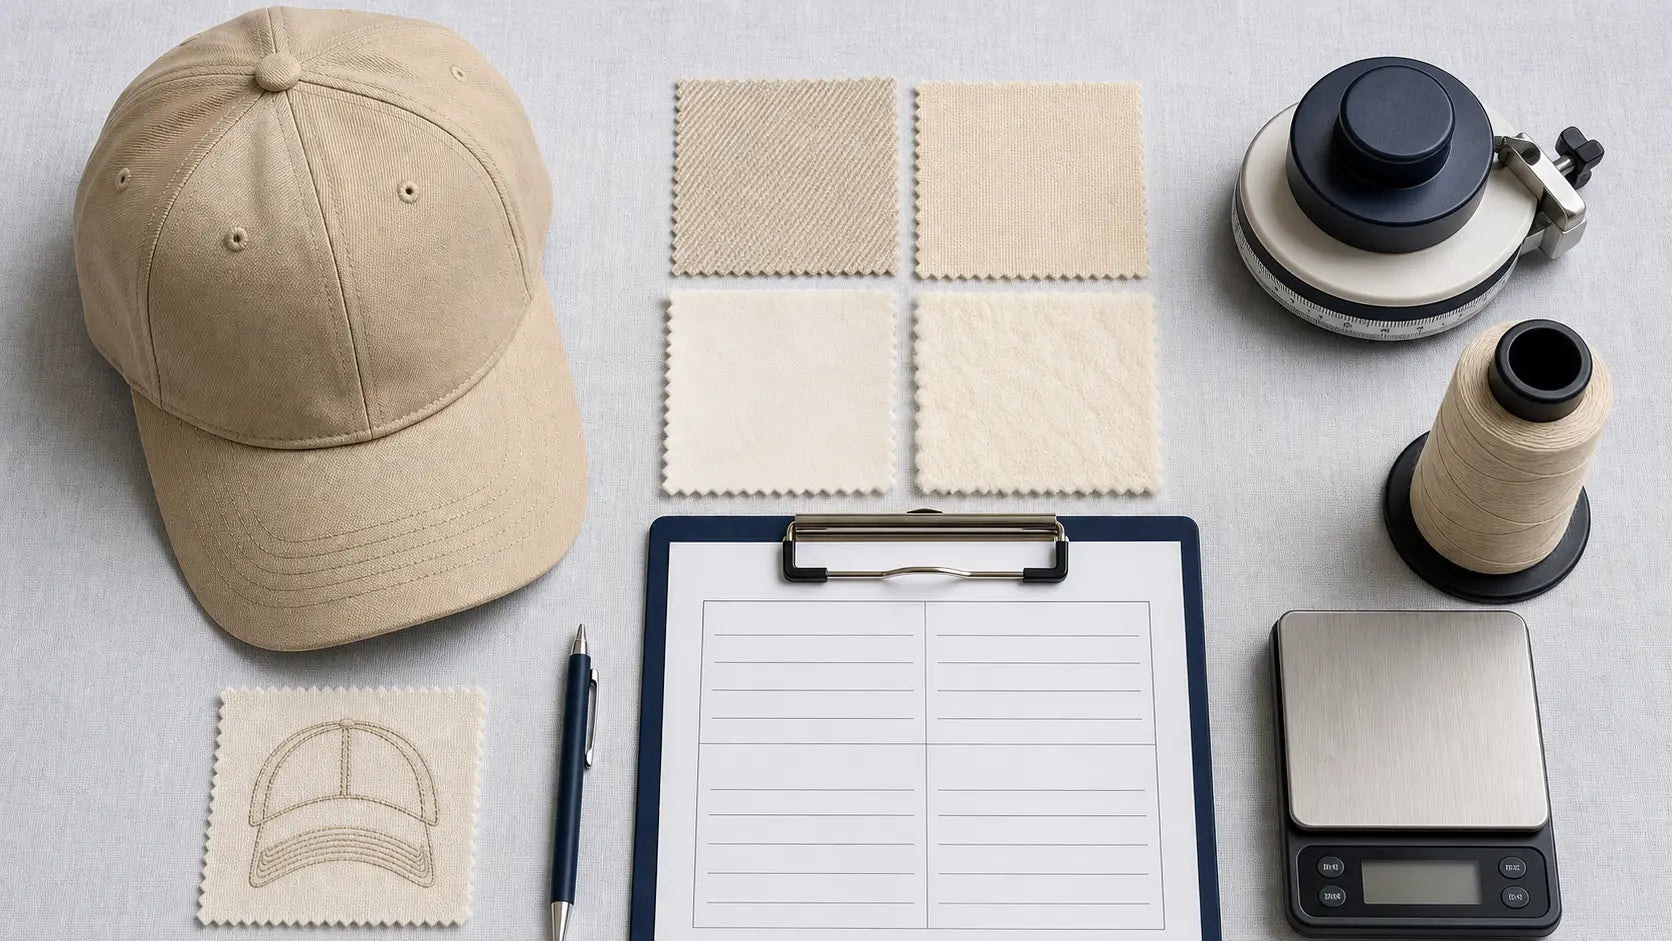
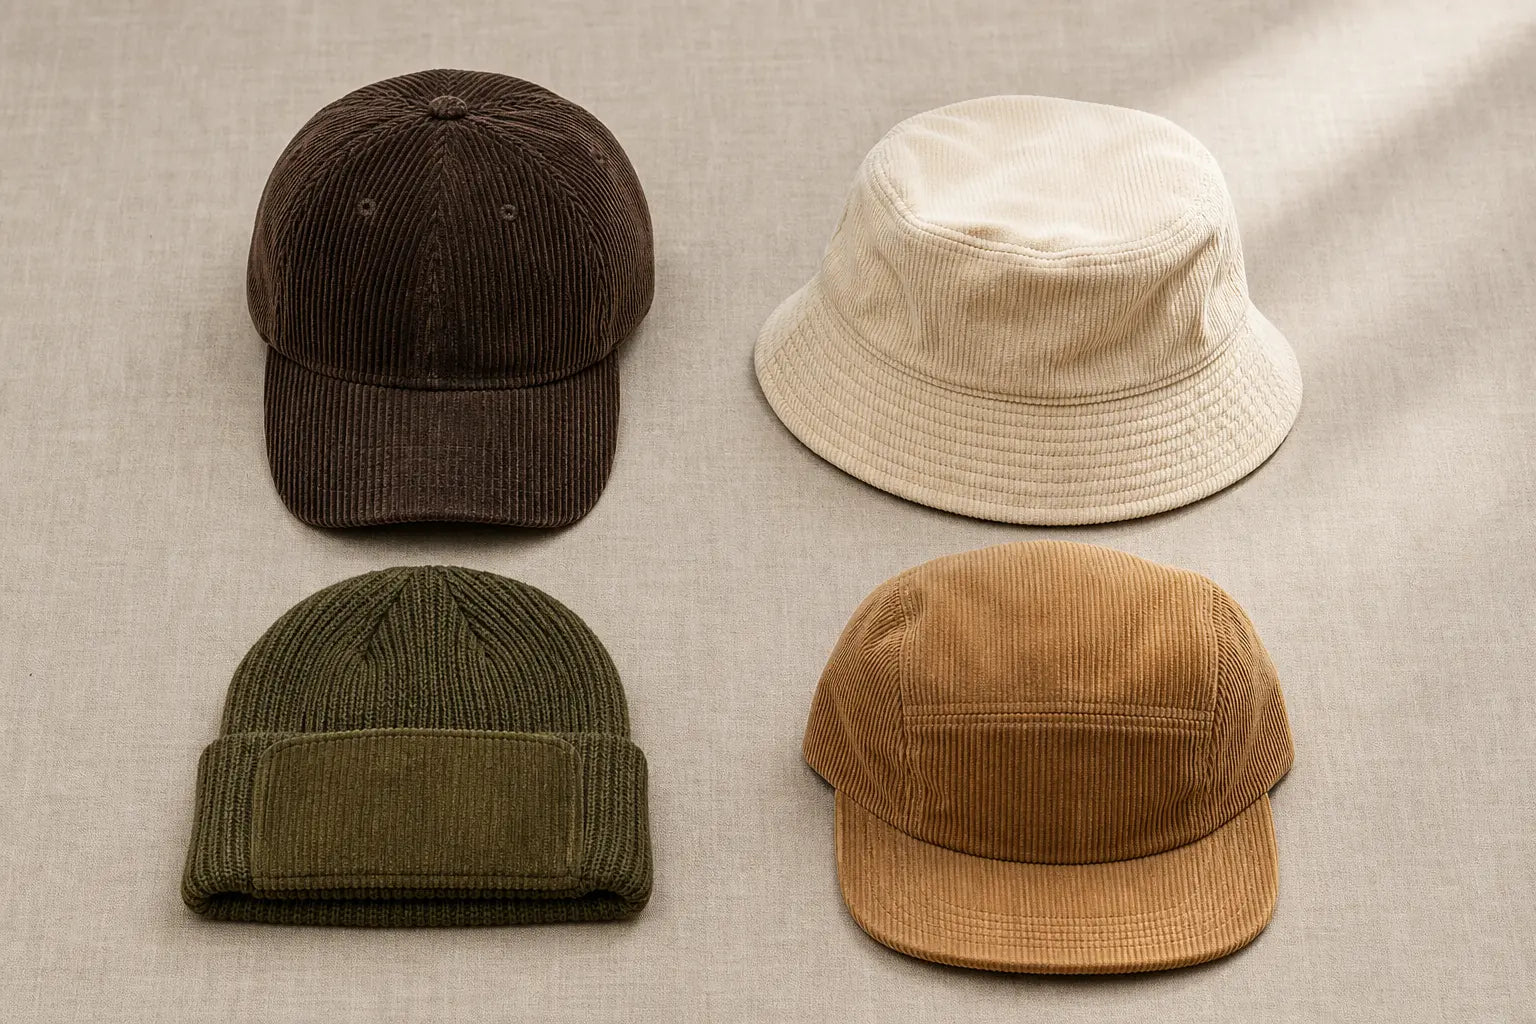
A hat can match the requested head circumference and still fit badly.
It may sit too high. The crown may feel too deep. The opening may press against the forehead. The visor may look too long when worn.
This becomes expensive during custom production.
An incomplete size specification can lead to extra samples, added cost and delays. Comments such as “make it fit better” create more questions because the factory cannot measure them.
The solution is simple: define the intended fit, explain how each measurement is taken and approve the result on a physical sample.
This guide shows you how.
Define the Fit Before the Measurements
Head size and finished hat size are connected, but they are not the same.
A fitted cap needs a controlled opening. An adjustable cap offers a wider range. A beanie stretches. A formed felt hat keeps a firmer shape.
Before building a size chart, answer three questions:
1. Who will wear the hat?
2. How should it sit?
3. Which construction will create that result?
Describe the intended fit with clear terms:
· Close or relaxed
· Low, medium or high profile
· Shallow or deep crown
· Structured or unstructured
· Flat or curved visor
· Worn high or pulled down
Reference images can help explain the look. They cannot show the internal construction or exact dimensions.
Use images together with measurements. Send a physical reference sample when one is available and appropriate to use.
How to Measure a Custom Cap
A point of measurement, or POM, must include more than a name.
For every POM, state:
· Where the measurement starts and ends
· Which tool is used
· How the hat is positioned
· Whether the tape follows a curve or measures straight across
Use millimetres throughout the specification. Take every measurement twice.
Cap Measurement SOP
|
POM |
Start and end points |
Tool and product state |
|
A. Head circumference |
Start at the centre forehead on the intended sweatband line. Pass above the ears and around the fullest point at the back of the head. Return to the start. |
Use a soft tape. Keep it level and snug without compressing the skin or hair. |
|
B. Finished inside circumference |
Start at centre back inside the hat. Follow the centre of the sweatband around the full opening. |
Use a flexible tape or cap measuring device. Keep the hat relaxed. Fasten the closure at the position stated in the specification. Do not stretch the sweatband. |
|
C. Front crown height |
Start at the centre-front crown-to-visor seam. Follow the crown surface to the centre of the top button or highest point. |
Use a flexible tape. Place the hat upright in its natural shape. Do not press the crown down. |
|
D. Visor projection |
Start at the centre-front crown-to-visor seam. Follow the top centre line to the outer edge. |
Use a flexible tape. Keep the approved visor curve. Do not flatten it. |
|
E. Visor width |
Measure from the left outer edge to the right outer edge at the widest point. |
Use a rigid ruler. State whether the measurement is straight across or follows the curved edge. |
|
F. Back opening width |
Measure between the two inner edges of the back opening at its widest point. |
Use a rigid ruler. Keep the hat upright and the closure at the nominated position. |
The diagram and measurement table must use the same POM letters.
This prevents a common problem: the buyer and factory use the same measurement name but measure between different points.
Image recommendation: Add front, side, back and inside cap drawings. Mark POM A–F with arrows that touch fixed seams or edges.
Use Size Benchmarks as a Starting Point
New brands often need a reference before the first sample.
The figures below are development benchmarks. Material, construction and target market may change the final dimensions.
|
Hat type |
Typical adult starting reference |
|
Adjustable six-panel cap |
A core wearing range around 570–600 mm is common. Some wider adjustable constructions may cover about 520–610 mm. |
|
Fitted cap |
Sizes commonly progress in steps close to 10 mm in head circumference. A medium reference is often near 580 mm. |
|
Bucket hat |
A practical starting point is 570–580 mm for M and 590–600 mm for L. |
|
Adult beanie |
Many adult beanies are developed for wearers within approximately 560–620 mm. Stretch and recovery must also be tested. |
|
Low-profile cap crown |
Front crown height may start near 83 mm. |
|
Mid-profile cap crown |
Front crown height may start around 86–95 mm, depending on construction. |
|
High-profile cap crown |
Front crown height may start near 100 mm or above. |
|
Baseball-cap visor |
A centre projection near 70 mm is a common development reference. |
Do not select a measurement only because it appears in a standard chart.
A streetwear cap may need a deeper crown. A running cap may need a closer fit. A fashion bucket hat may need a wider opening.
The intended result should guide the final specification.
Set Practical Tolerances
 A target measurement tells the factory what you want.
A tolerance defines the permitted difference from that target. For example, a 70 mm visor with a tolerance of ±2 mm may measure from 68 mm to 72 mm.
The values below are starting references for woven adult headwear. FOREMOST should confirm the final tolerance for each project.
|
Measurement |
Reference maximum tolerance |
|
Fixed inside circumference |
±5 mm |
|
Front or side crown height |
±3 mm |
|
Visor projection |
±2–3 mm |
|
Visor or brim width |
±3 mm |
|
Back opening width |
±3 mm |
|
Sweatband width |
±2 mm |
|
Closure strap length |
±5 mm |
|
Logo size or placement |
±2 mm |
Use tighter tolerances only when they are necessary and achievable.
Tighter limits can increase sampling, inspection time and cost. Loose limits may create visible inconsistency or poor fit.
Confirm the Fit on a Physical Sample
A measurement chart confirms dimensions. It cannot fully confirm comfort and appearance.
Try the sample on people within the target size range whenever possible.
Check:
· Wearing height
· Pressure around the opening
· Crown shape
· Visor proportion and curve
· Closure range
· Logo position when worn
· Left and right symmetry
Photograph the sample from the front, side, back, top and inside.
If the material, sweatband, closure or internal support changes, check the fit again. These changes can affect stretch, shrinkage, structure and comfort.
Give Sample Feedback the Factory Can Use
Useful sample feedback contains five parts:
4. Sample version
5. Affected POM or component
6. Current result
7. Required result
8. Details that must remain unchanged
Add a marked photograph when the comment concerns shape or placement.
Unclear Feedback vs Production Language
The numbers below are examples. Replace them with the actual sample measurements.
|
Unclear feedback |
Production language |
|
“The crown is too high.” |
“On sample V1, reduce POM C front crown height from 92 mm to 87 mm. Keep the side and back crown measurements unchanged.” |
|
“The brim is too big.” |
“Reduce POM D centre visor projection from 72 mm to 68 mm. Keep the width, curve and stitching unchanged.” |
|
“The hat feels loose.” |
“At closure position 4, reduce the inside circumference from 590 mm to 580 mm. Check V2 on the nominated 580 mm headform.” |
|
“Move the logo up a little.” |
“Increase the distance from the bottom of the embroidery to the centre-front visor seam from 28 mm to 34 mm. Keep the logo centred.” |
|
“The shape looks wrong.” |
“Reduce the front crown height by 4 mm and soften the front-panel support. Keep the visor and back opening unchanged. See marked Photo 03.” |
|
“The colour is wrong.” |
“The sample is darker than the approved physical swatch. Match that swatch under the agreed lighting condition and record its reference number in the tech pack.” |
Use the following format for each revision:
Sample: V1 Issue: POM D visor projection Current: 72 mm Required: 68 mm Tolerance: ±2 mm Keep unchanged: Width, curve, stitching and material Reference: Marked Photo 04 Action: Revise and submit V2
This gives the factory a measurable instruction and creates a clear revision history.
Image recommendation: Show a side-view sample with three marked comments: “Crown −5 mm,” “Visor −4 mm” and “Keep curve unchanged.”
What to Send to Your Manufacturer
Include the following in the first brief:
9. Product type and reference images
10. Target market and size range
11. Intended crown profile and wearing position
12. POM diagram and measurement table
13. Material and closure
14. Logo artwork, size and placement
15. Target quantity
16. Required delivery date
You do not need to solve every technical detail before contacting the factory.
You do need to describe the intended result. The development team can then identify missing measurements and recommend a workable construction.
Measure, Build and Approve
Use three stages:
Measure: Define the finished dimensions. State the start point, end point, tool and product condition for every POM.
Build: Match the measurements to the material, sweatband, closure and construction.
Approve: Check comfort, proportions and tolerances on a physical sample before bulk production.
Better fit starts with a clear specification.
Send FOREMOST your design, target size range, quantity and launch date. Our team will review the construction and explain which measurements should be confirmed during sampling.
Frequently Asked Questions
Is head circumference enough to define a custom hat size?
No. Head circumference is only one part of the fit. Crown height, finished opening, visor size, sweatband and closure also affect how the hat sits and feels.
These measurements should be confirmed on a physical sample before bulk production.
How should I measure head circumference for a hat?
Use a soft measuring tape. Place it on the intended sweatband line. Pass it above the ears and around the fullest part at the back of the head.
Keep the tape level and snug without pulling it tight.
What is a POM in hat manufacturing?
POM means point of measurement. It identifies a specific measurement used in the product specification.
Each POM should state the starting point, ending point, measuring tool and product condition. This helps the buyer and factory measure the hat in the same way.
What is an acceptable tolerance for custom hat measurements?
Tolerance depends on the material, construction and measurement point.
As a development reference, finished hat dimensions often use tolerances of approximately ±2–5 mm. The factory should confirm the final tolerance before bulk production.
How should I give feedback on a custom hat sample?
Use measurable instructions. State the sample version, current measurement, required measurement and allowed tolerance.
Explain which details must remain unchanged. Add marked photographs when commenting on shape, fit or logo placement.