
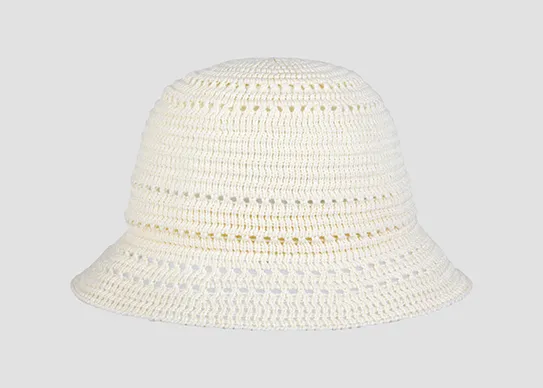
Bucket hats are popular!! A bucket hat is a soft, wide-brimmed hat that resembles an inverted bucket. Traditionally made from heavy-duty cotton fabrics like canvas or denim, it was created around the 1900s to protect fishermen and farmers from the rain and sun. Over time, bucket hats have evolved into a popular fashion accessory worn by people of all ages for practicality and style.
So, the question remains: will bucket hats still be popular in 2024? In short, the answer is yes, bucket hats are still popular in 2024. In fact, the bucket hat has continued to grow in popularity and growth over the years, with many designers and fashion brands incorporating it into their collections.
For today’s article, we would try to talk about the versatility and popularity of bucket hats in fashion trends, what are you waiting for, let’s dive in!!
Why do people like creating things with their hands? Research also shows that making things with your hands is great for decreasing stress, relieving anxiety and improving mental health. In addition, research confirms that making things with your hands is a large part of finding your flow, and flow is highly correlated with happiness.
In addition, research confirms that making things with your hands is a large part of finding your flow, and flow is highly correlated with happiness. Unfortunately, our modern world makes it very hard to find that rhythm where we can, free of distraction, just focus on the task at hand – where we can just turn off our minds (and phones) and be present in the moment.
Materials:
24/7 Cotton by Lion Brand Yarns, (186 yds/170 m ; 100 g/ 3.5 oz)
Black, 1 skein
Best Yarn for Structure: For vibrant color options and a yarn that offers some structure for your bucket hat, Lion Brand 24/7 Cotton can't be beat. 24/7 Cotton is mercerized, which means it is both extra strong and the colors are more saturated. It was the perfect fiber for this free bucket hat pattern.
Yarn for durability and comfort:
Linen – Among all the plant fibers, Linen is the most durable against heat. It is a good material for warm weather items.
Wool – A strong, warm fiber derived from sheep. Wool garments hold their shape well, tolerate cleaning, and have higher durability than many other fabrics.
Chain stitch: Chain Stitch is the basic and simplest stitch of the Chain Stitch family. It gives a chain like an appearance or, like petals lined up one after the other. Chain Stitch is one of the oldest known stitches that has been used widely among various cultures from Asia to Europe.
Tutorial video: https://www.youtube.com/watch?v=BslGFb4L7To
Slip stitch: Insert the hook into the next stitch. Put the tip of the hook under both of the loops at the top of the stitch. Then, bring the yarn over the hook, from back to front, and pull a loop of yarn through the stitch. After that, pull that same loop through the loop on the hook. The slip stitch is complete. You will now have one loop left on the hook.
Tutorial video: https://www.youtube.com/watch?v=AFk-fdAowbY
Single crochet: Insert the hook into the next stitch. Put the tip of the hook under both of the loops at the top of the stitch. Then, bring the yarn over the hook, from back to front, and pull a loop of yarn through the stitch. You will now have two loops on the hook. After that, bring the yarn over the hook again, and pull the yarn through both loops on the hook. You will now have one loop left on the hook.
Tutorial video: https://www.youtube.com/watch?v=JiENIkPzIzE
- Step 1: Starting the Crown
- Instructions on starting the hat from the top, creating a circle.
- Step 2: Working on the Sides
- How to expand the pattern to create the sides of the hat.
- Step 3: Shaping the Brim
- Detailed steps on crocheting the brim for sufficient shade and style.
- Step 4: Finishing Touches
- Adding any final embellishments, securing loose ends.
Round 1: Start with a magic ring. 6 sc into the magic ring.
Place a stitch marker to mark the beginning of the round.
Round 2: inc in each st around (12 sts)
Round 3: (inc, sc in next st) six times (18 sts)
Round 4: (inc, sc in next 2 sts) six times (24 sts)
Round 5: (inc, sc in next 3 sts) six times (30 sts)
Round 6: 2 sc (inc, sc in next 4 sts) five times, inc, 2 sc (36 sts)
Round 7: (inc, sc in next 5 sts) six times (42 sts)
Round 8: 3 sc (inc, sc in next 6 sts) five times, inc, 3 sc (48 sts)
Round 9: (inc, sc in next 7 sts) six times (54 sts)
Round 10: 4 sc (inc, sc in next 8 sts) five times, inc, 4 sc (60 sts)
Round 11: (inc, sc in next 9 sts) six times (66 sts)
Round 12: 5 sc (inc, sc in next 10 sts) five times, inc, 5 sc (72 sts)
Round 13: (inc, sc in next 11 sts) six times (78 sts)
Round 14: 6 sc (inc, sc in next 12 sts) five times, inc, 6 sc (84 sts)
Round 1: sc in each st around (84 sts)
Round 2: (inc, sc in next 27 sts) three times (87 sts)
Rounds 3-4: sc in each st around (87 sts)
Round 5: (inc, sc in next 28 sts) three times (90 sts)
Rounds 6-7: sc in each st around (90 sts)
Round 8: (inc, sc in next 29 sts) three times (93 sts)
Round 9: sc in each st around (93 sts)
Round 10: (inc, sc in next 30 sts) three times (96 sts)
Rounds 11-12: sc in each st around (96 sts)
Round 13: (inc, sc in next 31 sts) three times (99 sts)
Rounds 14-15: sc in each st around (99 sts)
Round 16: (inc, sc in next 32 sts) three times (102 sts)
Round 1: All sts FLO: 8 sc (inc, sc in next 16 sts) five times, inc, 8 sc (108 sts)
Round 2: sc in each st around. (108 sts)
Round 3: (inc, sc in next 17 sts) six times. (114 sts)
Round 4: sc in each st around. (114 sts)
Round 5: 9 sc (inc, sc in next 18 sts) five times, inc, 9 sc (120 sts)
Round 6: sc in each st around. (120 sts)
Round 7: (inc, sc in next 19 sts) six times. (126 sts)
Round 8: sc in each st around (126 sts)
Round 9: 10 sc (inc, sc in next 20 sts) five times, inc, 10 sc (132 sts)
Round 10: sc in each st around (132 sts)
Round 11: (inc, sc in next 21 sts) six times. (138 sts)
Round 12: sl st in each st around. (138 sts)
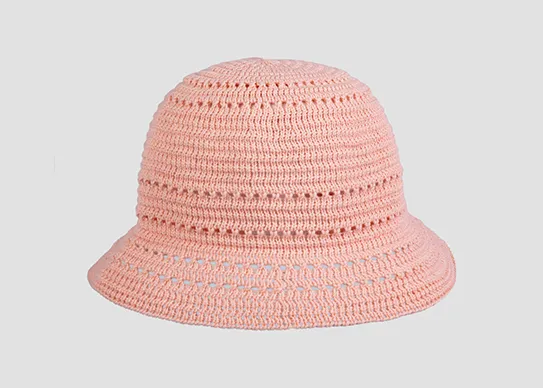
Color variations: For skin with yellow or red undertones, warm colors like brown, tan, or maroon will complement your face. For those with cool undertones, matching cool colors like grey or blue is the way to go.
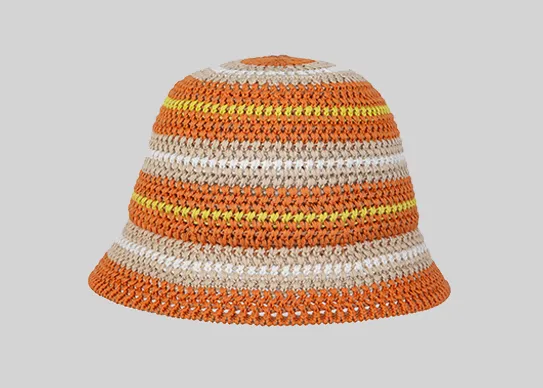
Stripe patterns: Some of the stripe patterns (in order of increasing width) are hairline stripes, pinstripes, pencil stripes, candy stripes, bengals, and awnings.
Decorative elements: A well-decorated hat can have a positive impact on your mood and well-being.
Uneven brim & how to fix: Place heavy objects, whether they are books, weights, or even stones themselves (sticks won't actually work here) on the creases of your brim and lay the hat on a flat surface for 24 hours. You'll notice your hat bounce right back into shape, and you'll be back in style.
Use the chart below to adjust accordingly to the size you need:
For teen – adult small with a circumference of 20″, eliminate 1 round of hdc from the crown section of the pattern before you begin working down the side of hat with (b2lo). This means the crown of your hat should have 70 stitches from end of crown to start of brim instead of the 80 stitches ended with the adult medium size of 21-22″ worked in the pattern above.
Generally, it's best to wash in cold water on a gentle cycle, and I recommend using a mild, unscented detergent. Do not put your bucket hat in the dryer after washing, as the heat can damage it. Instead, wrap it in a breathable fabric that cushions the inside of the hat, helping it maintain its shape as it dries.
If using dish soap, use the water to lather suds into the bucket. Dunk your dirty hat into the water and get some suds going. Let your hat soak in soapy water for 5-10 minutes. Finally, place your hat on a jar, balled up towel or some other stand to dry—something that can sit inside your cap to hold its shape.
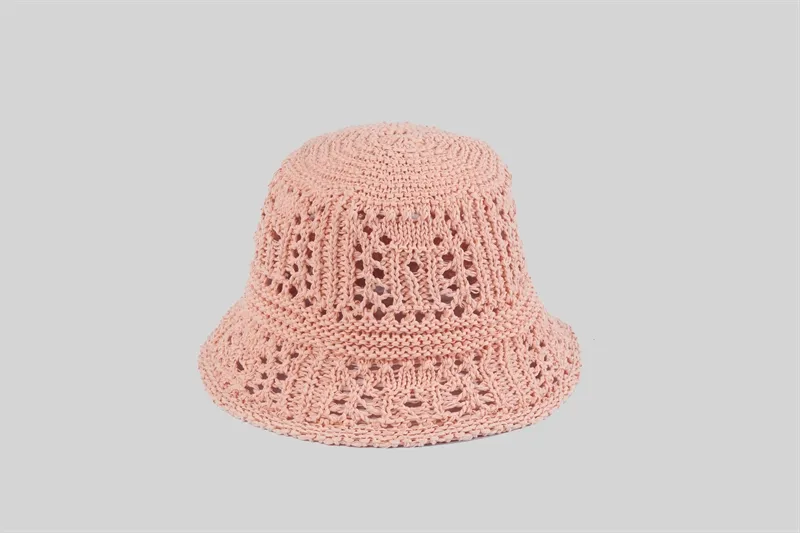
- Showcase examples of completed bucket hats for inspiration.
- Provide links to additional resources, patterns, and community forums for crocheters.
https://www.youtube.com/watch?v=BJvmuOvy128
https://yarndrasil.com/crochet-bucket-hat/
https://makeanddocrew.com/crochet-bucket-hat-free-pattern/
https://www.jerasjamboree.co.uk/crochet-bucket-hat-patterns/
https://bluestarcrochet.com/best-yarn-for-crochet-hats/
https://www.yarnwars.com/crochet-bucket-hat-pattern-back-to-the-sixties-we-go/
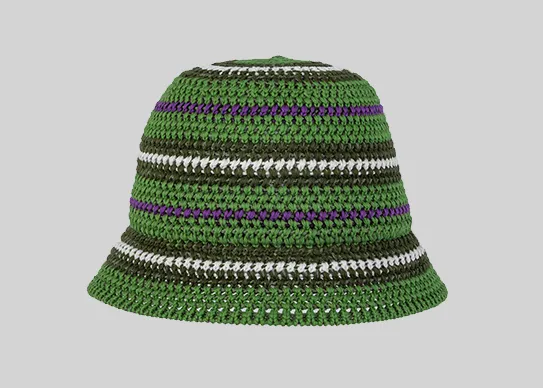
The newest bucket hat fashion trend that is sweeping the internet—and streets—is the accessory's crochet version. Everywhere you turn, or everywhere you swipe, you'll likely see someone in one of the trendy hats to help protect their melanin from the sun's harsh rays.
Can a Beginner Crochet a Bucket Hat? Yes, a newbie can definitely make this crochet hat, since it's made from basic single crochet. However, I wouldn't suggest this as your very first project because it includes some counting and measuring.
That’s all for today, if you have any questions, please comment below and let us know!!


