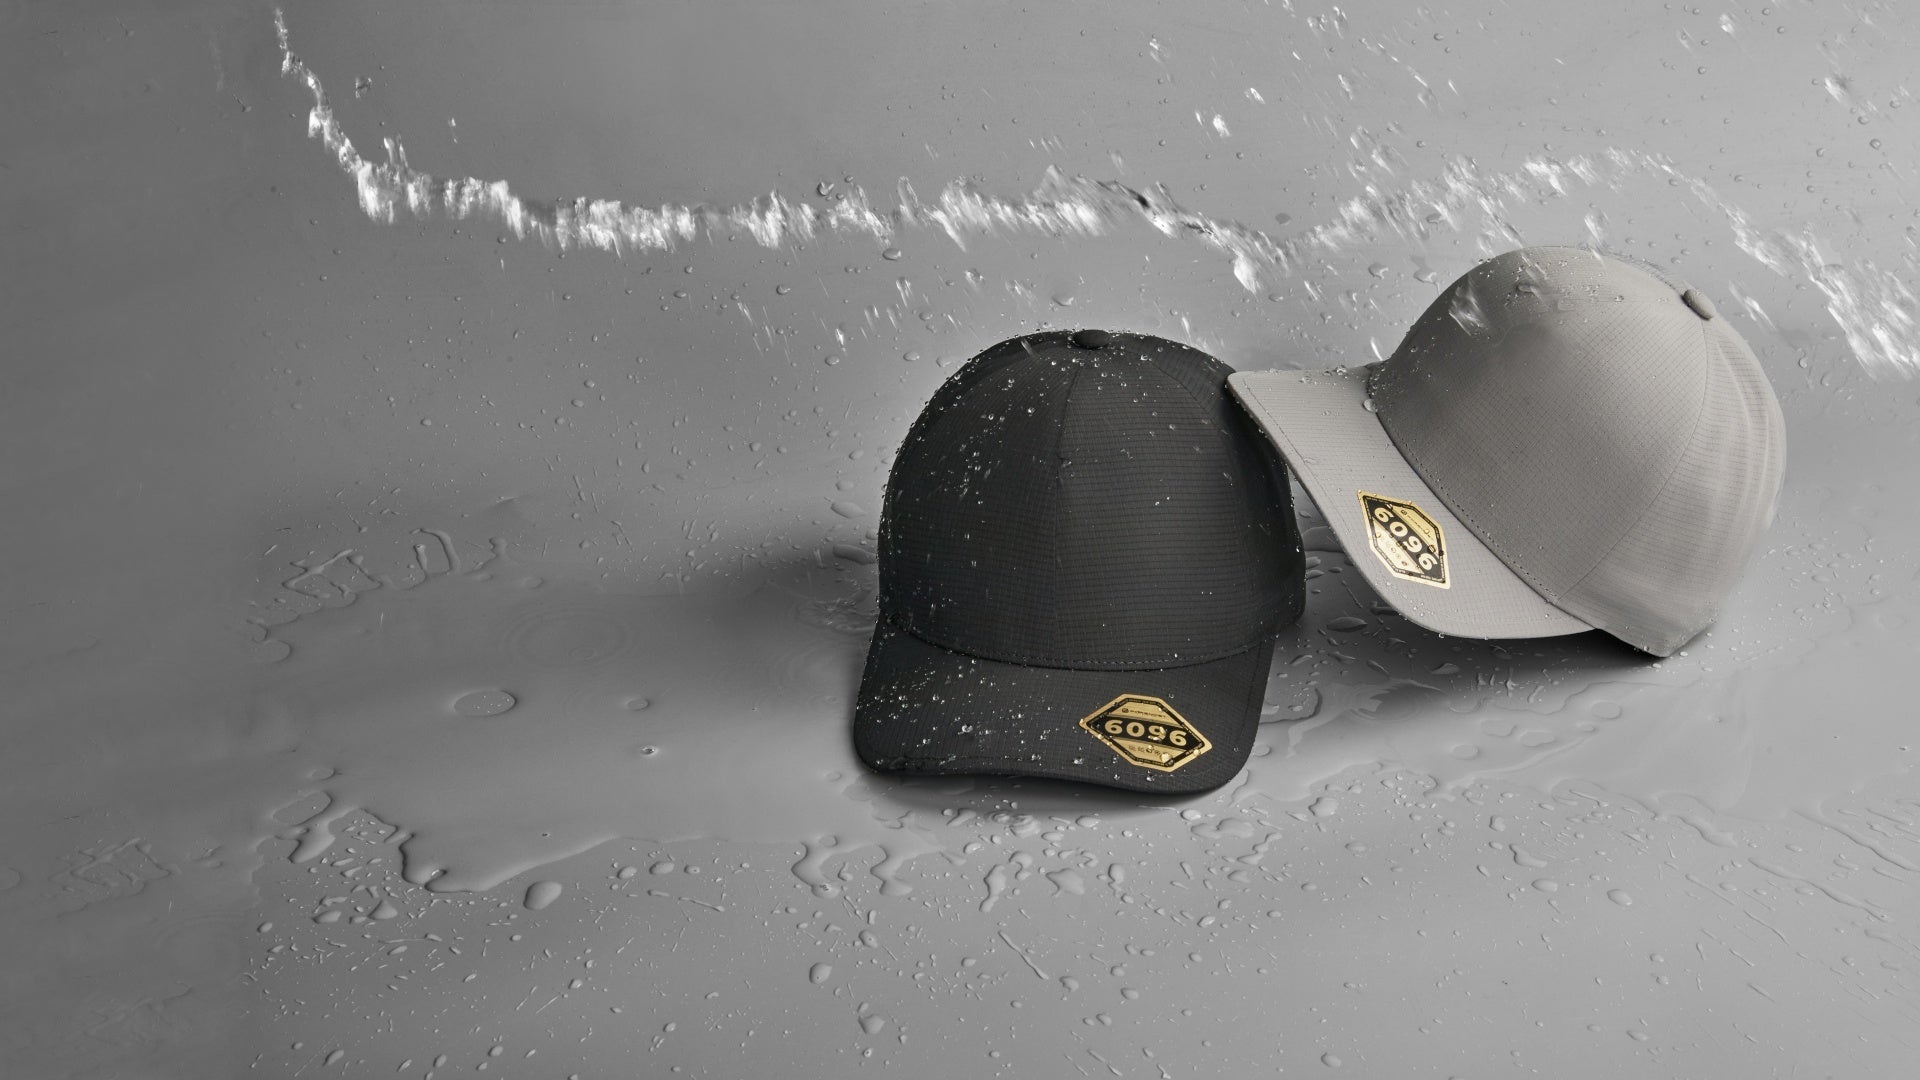
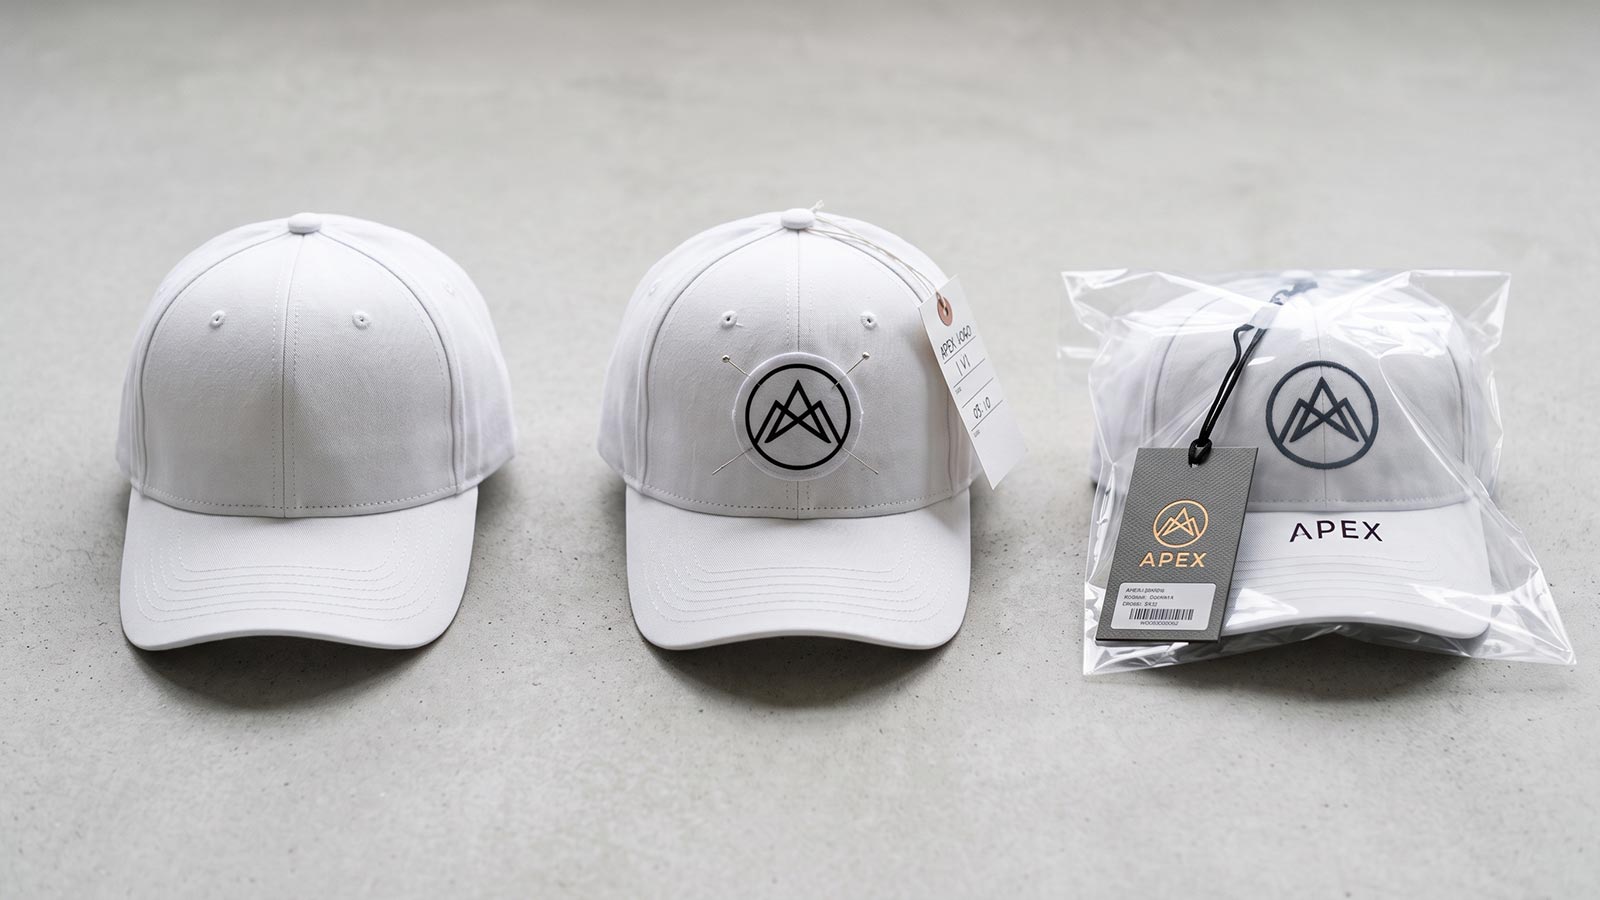
A patch can make a hat feel more finished, more textured and easier to recognise. It can also create problems when the patch, artwork and hat are chosen separately.
A large PVC patch may pull against a soft dad cap. Small letters may disappear in embroidery. A heat-applied patch may not bond well to a coated performance fabric. These issues are difficult to correct after the full batch of patches has already been made.
The safer approach is simple: choose the patch construction around the artwork, match it to the hat, define the size and attachment clearly, then approve a physical sample. Foremost Hat can support these checks during artwork review and sampling, while keeping the choices clear for the buyer.
Quick Guide: Which Patch Type Fits Your Design?
|
What you need |
Starting option |
Main limitation |
|
Classic raised thread |
Embroidered patch |
Very fine details may close |
|
Small text and linework |
Woven patch |
Flatter than embroidery |
|
Rustic or premium look |
Leather or leather-look |
Limited full-colour detail |
|
Outdoor or technical look |
PVC or rubber patch |
Tooling and minimum detail |
|
Gradients or complex colours |
Printed or sublimated patch |
Less physical texture |
Treat this table as a starting point. The actual artwork, patch size, hat material and intended use still need to be checked together.
What Is a Custom Patch Hat?
A custom patch hat has a separately produced logo piece attached to the crown. The patch has its own material, shape, border, thickness and backing. This creates a framed appearance that is different from direct embroidery, where thread passes directly through the hat panel.
A patch is also different from a printed transfer. A transfer places a printed or cut graphic on the hat surface. A patch remains a separate physical component, even when the artwork on the patch is printed.
That separate construction gives buyers more material choices, but it adds another production step. The patch must be designed, produced, positioned and attached correctly.
Understand the Parts of a Patch
· Face material: embroidery thread, woven fabric, leather, synthetic leather, PVC, rubber-like material or printed textile.
· Base layer: supports the artwork and affects flexibility and thickness.
· Border: merrowed, embroidered, heat-cut, laser-cut or moulded.
· Backing: plain, heat-activated or another construction selected for attachment.
· Attachment: perimeter sewing, heat application or a combined method.
These details should appear in the specification. Writing only 'embroidered patch' leaves the border, backing and attachment open to interpretation.
 Main Patch Types for Custom Hats
Embroidered Patches
Embroidered patches use thread stitched over a fabric base. They suit bold logos, crests, team marks and workwear branding. The raised thread gives a familiar, traditional texture.
Thread has physical thickness. Tiny text, narrow gaps and thin outlines may fill in or merge. A design that looks clear on a large monitor should still be reviewed at its actual patch size. Simplifying one small detail often improves the finished result more than adding stitches.
Woven Patches
Woven patches use finer threads integrated into a flatter surface. They are often a better starting point for small lettering, detailed linework and compact wordmarks. The surface is smoother and less raised than embroidery.
Woven construction improves detail capacity, but it does not make every tiny element practical. Border width, patch size and colour contrast still affect readability.
Leather and Leather-Look Patches
Leather patches are commonly chosen for outdoor, workwear, hospitality and lifestyle products. The artwork may be engraved, debossed, embossed or printed, depending on the material and required finish.
Genuine leather can vary in grain, shade and response to engraving. A controlled synthetic leather-look material can provide more consistent colour across a batch. Buyers should decide whether natural variation is welcome or whether repeatability matters more.
PVC, Rubber and Silicone Patches
Moulded patches create clear colour areas and raised or recessed levels. They work well for technical, marine, outdoor and modern streetwear designs. Two-dimensional construction uses defined colour zones. Three-dimensional construction adds shaped height and softer transitions.
PVC, rubber and silicone are often grouped together in sales language, although their formulations and feel can differ. Ask the manufacturer to state the actual material, thickness, number of height levels, colour reference and attachment method. Tooling also means that fine details and very small runs need an early feasibility review.
Printed and Sublimated Patches
Printed patches are useful for gradients, illustrations and artwork with many colours. They can hold visual detail that would be difficult to reproduce with thread or moulded colour zones.
The trade-off is texture. The face is usually flatter and more graphic. Colour should be approved on the actual patch material, since a screen preview cannot show the final surface, contrast or border effect.
Match the Patch to the Hat
The front panel controls how the patch sits. A patch that looks balanced on a tall structured trucker cap can feel oversized on a low-profile cap.
|
Hat construction |
Starting direction |
What to check |
|
Structured trucker or snapback |
Medium or firm patches |
Centre seam, foam compression and curvature |
|
Five-panel or camper |
Wide or custom-shaped patches |
Panel width and seam allowance |
|
Dad cap or unstructured cap |
Smaller, thinner, flexible patches |
Crown collapse and lifted corners |
|
Performance or stretch cap |
Flexible construction |
Coating, heat response and recovery |
|
Beanie |
Small flexible patch |
Cuff height, stretch and inside comfort |
Foremost Hat can review the intended patch against the selected hat construction during development. This check is most useful before patch tooling or bulk patch production begins.
 How Should the Patch Be Attached?
Perimeter Sewing
Sewing provides a visible mechanical connection. The specification should define thread colour, stitch path, distance from the patch edge and the required back-side appearance. Corners and tight curves need particular attention because an uneven stitch path is easy to see.
Heat Application
Heat application depends on the patch backing, hat fibre, surface coating, crown support and available pressure. A setting that works on cotton twill may be unsuitable for nylon, coated polyester, wool or foam-backed panels.
Adhesive Plus Sewing
A heat-activated layer can help position a patch before perimeter sewing. It should not hide poor sewing or an incompatible crown surface. Approve the complete attachment method as one construction.
Avoid placing one universal temperature, time and pressure in the specification. Use the selected backing supplier's starting conditions, then confirm them on the actual production material and hat construction.
Patch Size and Placement
Many front patches begin within an approximate width of 50 to 90 mm. This is a visual starting range, not a universal production standard. Low-profile and unstructured caps usually need the lower end. Tall structured crowns can sometimes support the upper end.
Do not approve size from a digital mock-up alone. Print the patch outline at actual size, cut it out and place it on the physical hat. Check it from normal viewing distance and while the hat is worn.
How to Measure the Patch
Measure a finished hat with the closure set to the approved position. Shape the crown naturally and place it on a stable surface or approved fixture. Use a flexible ruler or tape that follows the crown.
· Patch width: left visible edge to right visible edge.
· Patch height: lowest visible edge to highest visible edge.
· Vertical placement: centre of the visor-to-crown seam to the lowest visible patch edge.
· Horizontal placement: patch centreline compared with the hat front centreline.
· Clearance: distance from seams, eyelets and panel edges where relevant.
Record the tool, reference points and hat state on the measurement sheet. Placement tolerance should be agreed after the patch size, crown shape and attachment method have been reviewed.
 Prepare Artwork for Patch Production
Send vector artwork when available. Convert fonts to outlines and identify critical colours. A high-resolution raster file can support printed artwork, but a small screenshot cannot recover missing edge detail.
The production file should show the final visible size, patch shape, border, colour references, attachment method and intended placement. Review the proof at actual size. Check spelling, letter spacing, narrow gaps and contrast against the chosen hat colour.
If the buyer is unsure which construction suits the artwork, Foremost Hat can compare practical options during the review. The aim is to keep the important parts of the design while adapting details that the selected process cannot reproduce cleanly.
Approve a Physical Sample
1. Confirm the patch material, colour, size, shape and thickness.
2. Check the border and the clarity of small artwork details.
3. Measure placement from fixed reference points.
4. Inspect corners, perimeter stitching and visible adhesive.
5. Check whether the crown has wrinkled, flattened or changed shape.
6. Wear the hat and check inside comfort, especially on beanies and soft caps.
7. Record approval with photos, measurements and the artwork version.
A digital proof confirms the intended design. A physical sample confirms the actual construction. Keep the approved sample with the specification so bulk production can be compared with the same reference.
 Sample Feedback: Use Clear Production Language
|
Vague feedback |
Clear production feedback |
|
The patch is too big. |
Reduce visible width by 5 mm and keep the current height proportion. |
|
The patch is crooked. |
The patch centreline is about 4 mm to the wearer's left of the hat centreline. |
|
The corners look bad. |
The upper-right corner lifts away from the crown; review attachment and panel curvature. |
|
The logo is unclear. |
The small text loses separation; enlarge the letters and increase spacing. |
|
The sewing is uneven. |
The stitch distance from the lower patch edge varies visibly; standardise the stitch path. |
Bulk Quality Checks
Bulk inspection should compare production with the approved physical sample. Check patch material, colour, dimensions, border, placement, angle, attachment, crown shape and artwork clarity. Review units from different parts of the production run, rather than only the easiest hats at the top of one carton.
If a patch design will be used on several hat styles, approve each hat-and-patch combination. The same patch can sit differently on a structured trucker, an unstructured cap and a beanie.
Start with the Hat and the Artwork
A successful custom patch hat comes from treating the patch and hat as one product. The patch type controls how the logo is reproduced. The crown controls how the patch sits. The attachment method controls how the two parts work together.
Foremost Hat can support the process by reviewing the artwork, hat construction, patch options, placement and physical sample before production details are confirmed.
What is the best patch type for a custom hat?
The best option depends on the artwork and the intended look. Embroidery provides raised texture, woven patches handle finer detail, leather creates a natural or premium feel, PVC creates a moulded technical look, and printed patches support complex colour.
What is the difference between woven and embroidered patches?
Embroidered patches place thicker stitches over a base and look more raised. Woven patches use finer integrated threads and have a flatter surface, which often supports smaller lettering and narrower linework.
Should a patch be sewn or heat applied?
The answer depends on the backing, hat material, coating, crown structure and intended use. Sewing provides mechanical attachment. Heat application requires compatible surfaces and controlled pressure. Some constructions use both.
Can the same patch be used on different hat styles?
The design can often be shared, but size, curvature, attachment and visual balance should be checked on each hat. One approved sample should not automatically approve every crown construction.